We are almost done, well I am done, I am wearing my top right now as I type! So everything should be fitting great right now and looking finished except for the hem. There are multiple ways to hem. I am going to talk about two here, hand and machine stitched. I generally decide what I am going to use based on how I am going to be washing my garment. If it is going to get a lot of wear and be washed in a machine I will use machine stitched hem. If it is something a little nicer that won’t be worn tons or will be hand washed I will do a hand stitched hem. The hand stitched hem looks nice, almost invisible, but isn’t as durable. Since these are basic tops that my daughter and myself will probably wear a lot in the summer I am machine stitching mine.
The first thing you need to do is try your top on and mark with a couple of straight pins where you want your hem to be. So fold the hem up and pin it all over. Before you take it off I would recommend doing things like lifting your arms up, bending over, sitting down… just so you make sure it looks good in all situations.
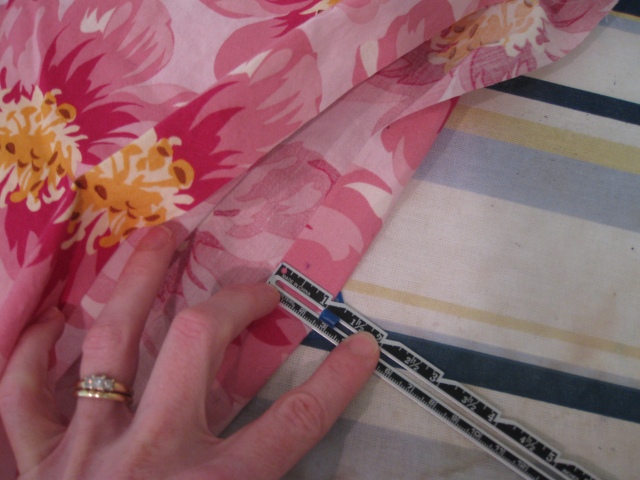
Now take your top off and cut your hem ONE INCH longer than the point you marked with your pins. Now get your iron warmed up because we are now going to iron around our hem that one inch.
After it is pressed all around we are going to sew. We are going to need to fold our raw edge into the hem so we don’t have fraying problems. So open up the fold you just ironed.
Now we are going to fold the raw edge so it is lined up with our pressed edge.
Now you are going to fold it all over one more time so that the raw edge is completely encased in the hem and the pressed edge is now at the end of the garment.
- green- pressed hem
- yellow- fold
- blue- raw edge now encased in fabric.
Now if you are using a machine stitch just sew with your presser foot along the hem edge all the way around. If you want to do it by hand there is a great link here with a video showing you how to do it, and since we all know I am WAY too lazy to make a video for you all you will have to go there to see it.
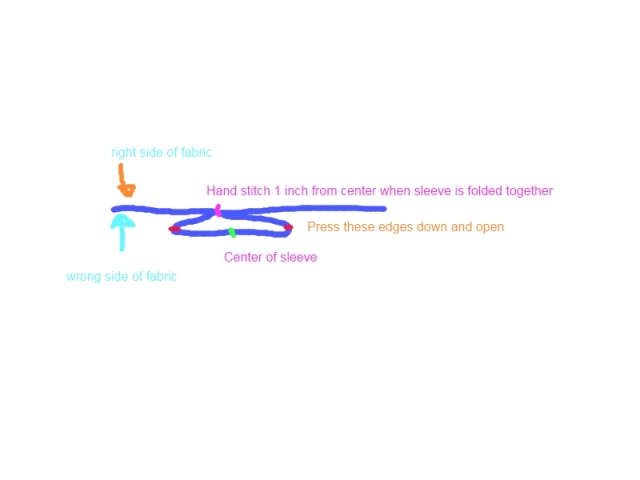
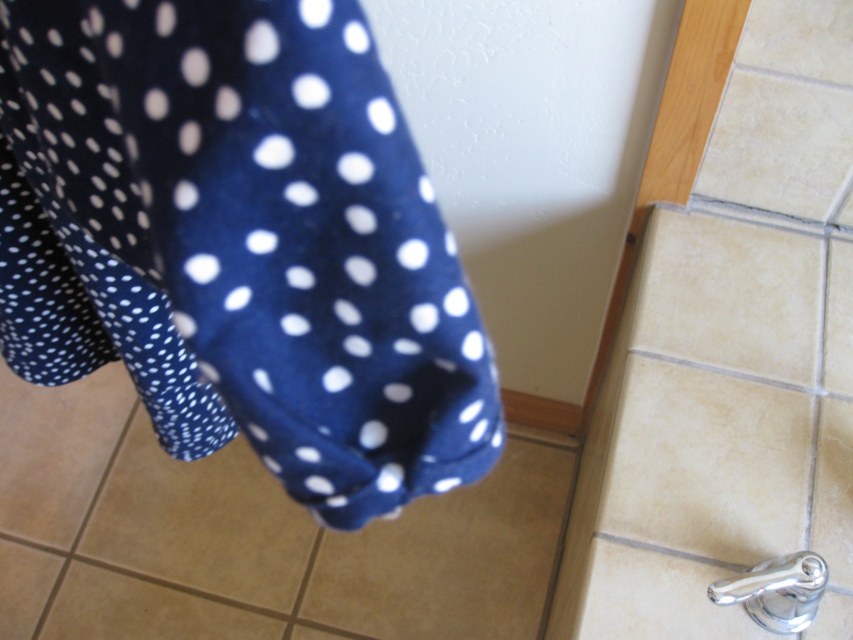
Now before I can say that you are officially done we need to discuss the sleeves a bit. When I made my navy top I felt that the sleeves stuck out a bit making them look a little like scrubs so I put a simple tuck in the hem of each sleeve. To do this mark the middle top of the sleeve by folding it at the arm seam, then turn your top inside out and right sides together sew a couple of small handstitches about 1 inch from the fold. Now take your middle top mark and line it up with your hand stitches. Press this and tack it down with a few stitches and you should have a nice tuck.

This is my attempt at drawing what I just explained since I don’t think I explained it well, and here is a picture of my tuck on the sleeve of my navy tunic. Go here to see more pic of it.
So that is an option if you want a more fitted sleeve. My daughter liked them how they were and I am using a more flowy polyester for mine so I didn’t make any changes either. So now….. we should be officially done!
I like this top for many reasons. It is simple, cheap and easy to sew, and it is a great and versatile basic.
Here is my eleven year old in hers. You can tell that I made hers with no alterations at the sides. It is a much more baggy and shapeless fit. She likes it like that so it worked great.
So there you go, sew a long done and we all have a cute versatile top in our closets. This is a really easy top, in the time it took me to type all these posts I probably could have made five of them. So I hope you enjoyed it and if there is interest in a flikr group that people want to post their tops in let me know and I will see if I can figure it out:)


thanks for your sewalong! ive just finished mine in little under two hours from the start (ive been meaning to do this top for ages!)
maybe you could add in the gathering step explanation that the ruffly bits should point downwards so that they lie naturally with the bosom (it was the only bit that was difficult for me 🙂
Your shirts are great! I never thought of making it for a younger girl but it looks awesome on her! Thanks for doing the sew-a-long, I’m going to link to it on my patterns page on my blog.
Pingback: A very, very, VERY beginner sew along 7- sewing the hem and the …